
Bottle Cap Inspection
Vision is often used for product verification. This tutorial shows how to locate a bottle cap within an image and determine if it is correctly fitted on a bottle. This would be a typical process to ensure that a bottle is correctly capped prior to packing.
Lighting
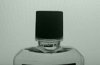
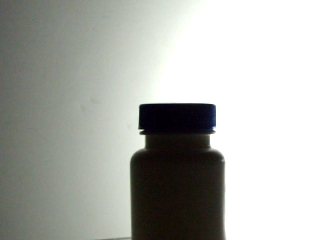
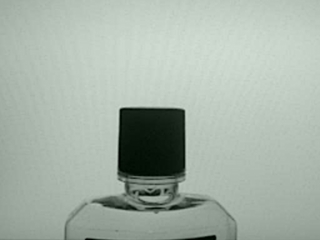
The most important aspect of any vision project is lighting. Bad lighting leads to bad results. In our case of bottle cap inspection, the best lighting is one BEHIND the object or called backlighting. The reason for this can be seen in the two following images. One is has lighting from the front and the other from the back. To us this may not seem like a major difference but when we begin the process of identifying the shape or silhouette of the object as the first step in inspection the difference becomes clear.
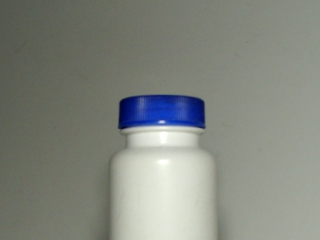
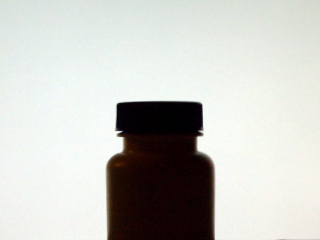
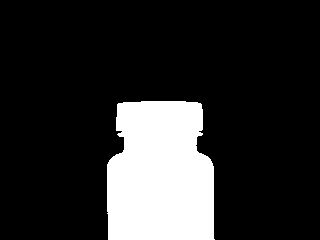
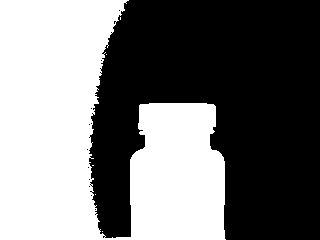
Using a very simple image threshold the best segmentation of background versus foreground becomes very difficult with the frontal lighting. This is because when the lighting is from the front specular reflection appears in the object which can cause the intensity values of the pixels that represent the object to appear the same as the background. Backlighting solves this issue by ensure that the background is always much lighter than the actual object itself.
If you are unable to place a light directly behind the object use a white background with the light offset from the object. This will reflect enough light from the background to achieve the same result.
Position
Now that lighting has been resolved, we can experiment with how the object will appear in the camera image with respect to position. The more rigid the object placement the easier the analysis becomes. For example, if we can always guarantee that the object is in exactly the same position in the image without any rotation in any axis nor a scale difference then the analysis gets a lot easier. The reason it gets a lot easier is that we can place probes exactly at the know location to check for any irregularities.
In reality this perfect placement is VERY unlikely. In our current case, we will assume none of these are true in that the bottle top will move around the image, have some out of plane rotation and some scale change. To get started we chose a sample image:
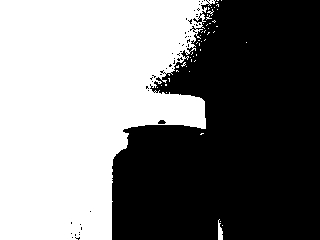
First we identify all the edges within the image using the Canny module.
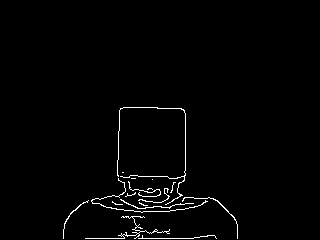
Then, to ensure that all edges are well represented we use the Dilate module.
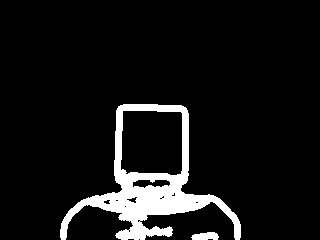
We then use the Side Fill module to highlight everything outside of the bottle. By filling from the top in a waterfall style and stopping when a non-black pixel is encountered we achieve an top down outline of the bottle with cap.

As RoboRealm likes to work with white objects we swap the image to its Negative.
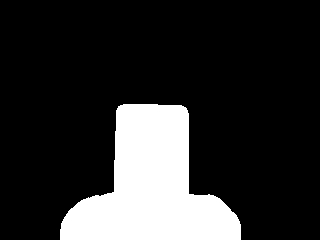
To identify the cap we want to identify the four corners that constitute the cap plus the neck. The reason for including the neck is to ensure that the cap is a certain distance from the bottle shoulders to ensure that the cap is solid on the neck. This is done by identifying the corners of the cap plus neck using the Sample Curve module.
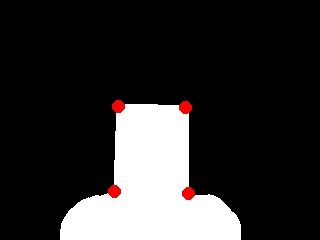
Because we are not interested in the bottle shoulders we draw a black rectangle below the neck to eliminate that from consideration. We setup the Y variable using the Set_Variable module and the known Curve points (4x).
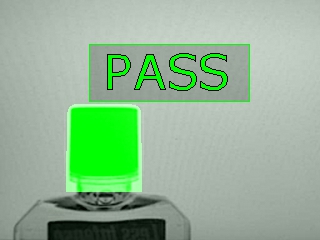
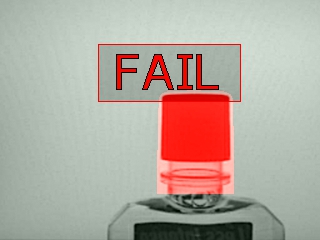
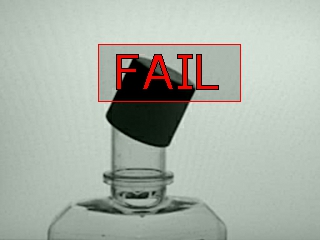
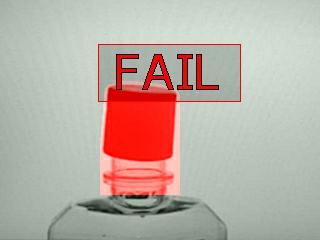
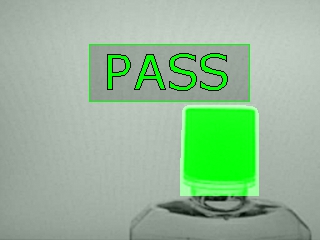
To determine if the shape is correct we then use the Geometric_Statistics to get the Aspect Ratio of the final shape. The aspect ratio is chosen because it is scale invariant and provides an accurate enough measurement to determine if the resulting rectangle has the correct dimensions. If the rectangle is too high caused by the cap not being tight on the bottle neck the ratio will be off. If the cap is missing or tilted the aspect ratio will also be incorrect. In addition, if the previous 4 curve points were not found we can also declare a FAILed part since something in initial edge shape was incorrect.
As with any machine vision project you need to test with many images in order to verify a correct solution. The PASS or FAIL are determined and combined back with the original image to indicate what the system found during its analysis. Note result 4 didn't even generate the 4 curve points correctly.

Download the ![]() Bottle Cap Inspection robofile to see the steps
and more about the modules used. You can download the original images used in this tutorial here.
Bottle Cap Inspection robofile to see the steps
and more about the modules used. You can download the original images used in this tutorial here.
The End
That's all folks. We hope you've enjoyed this little adventure into an application of machine vision processing. If you have any questions or comments about this tutorial please feel free to contact us.
Have a nice day!
| New Post |
| Bottle Cap Inspection Related Forum Posts | Last post | Posts | Views |
| None |