
Blister Inspection
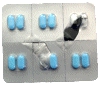
This tutorial shows one possible method of checking for the presence of pills within a blister pack. Often during the manufacturing process it is possible for a pill not to be inserted correctly into a cavity which needs to be detected before packaging. A vision system is an ideal solution for detecting issues in blister packs.
Lighting
The most important aspect of any vision project is lighting. Bad lighting leads to bad results. In our case of blister inspection since we are working with highly reflective metallic packs the best lighting is a diffuse lighting with a high contrast background. Diffuse lighting (versus direct) will produce a more even illumination and reduce specular reflections that can cause the absence of pill color from certain angles.
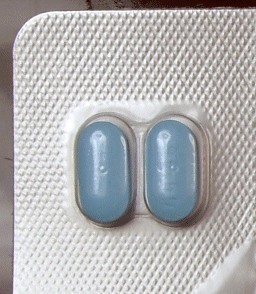
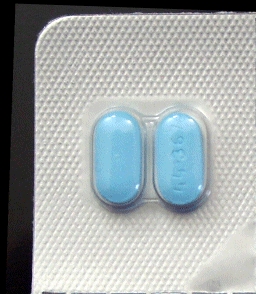
Note the lack of the vertical highlight on the tablets. These highlights cause the color of the tablet to be overpowered by the white light.
Position
Now that lighting has been resolved, we can experiment with how the object will appear in the camera image with respect to position. The more rigid the object placement the easier the analysis becomes. For example, if we can always guarantee that the object is in exactly the same position in the image without any rotation in any axis nor a scale difference then the analysis gets a lot easier. The reason it gets a lot easier is that we can place probes exactly at the known location to check for any irregularities.
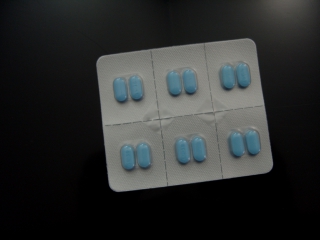
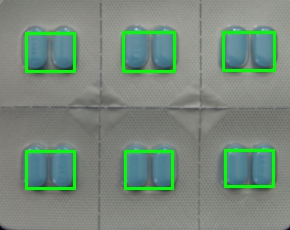
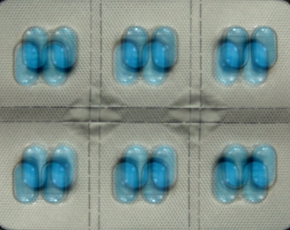
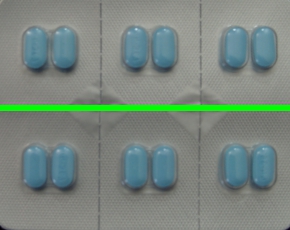
In reality this perfect placement is unlikely. In our current case, we will assume none of these are true in that the blister pack will move around the image and even have some scale change. To get started we chose a sample image:
First we threshold the image to segment the blister pack from the background. This is why we ideally have a high contrast background which makes this process much easier. We do this using the Auto_Threshold module.

As we have some holes in the object due to some shadows we use the Fill module to remove them.

Since our lighting wasn't perfect we have a extra object in the upper right side of the image which received more direct light than the rest of the image. We can remove that object by selecting only the largest object in the image using the Blob_Size module.

We then take the remaining blob (our blister pack) and replace it with a rectangle using the Replace Blob module. It uses the single large blob to determine how best to fit a rectangle into the blob. The reason we need to do this is to ensure that we know the bounding box of our blister pack despite it having round edges. Fitting a rectangle into this blob ensures that we have those 4 corner coordinates needed for the next steps.
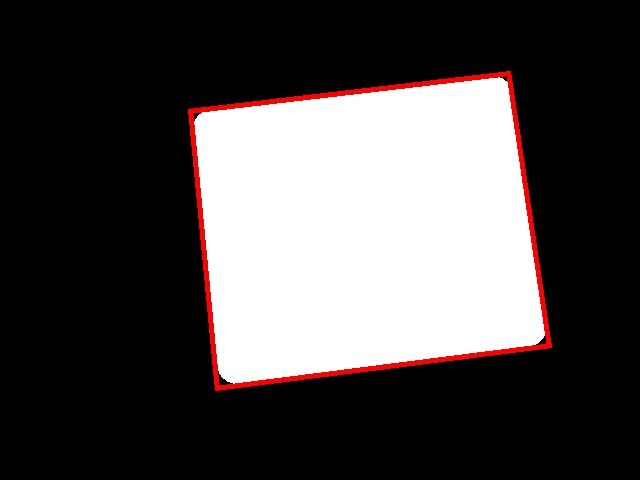
Now that we know the 4 coordinates, we can then use those in the Affine module to transform the image into just the blister pack. This removes translation, rotation and scale differences from the image in one module. The result of which is a known image size (300x240) with just the blister pack.
The image is now ready to be inspected using the Blob_Inspection module, but before we can use that module we must create a mask that tells the Blob_Inspection module what parts of the image we want to analyze. Since we are not interested in the actual surrounding blister pack we generate a mask that contains mostly the pills. This can be done manually (the blister pack will always be transformed to the same dimension so only one mask is needed) or using RoboRealm to threshold, fill, and smooth an existing image. The result of which is

Note that the mask does NOT need to be perfect and can include some parts of the coating. The mask helps to focus the attention on what you want to analyze and some background can always be included.
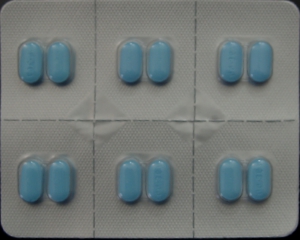
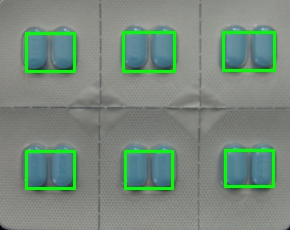
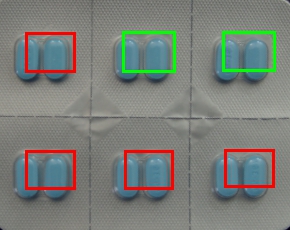
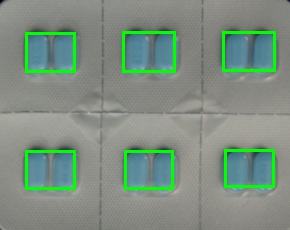
We now add in the Blob Inspection module. We add a blob to the training database by clicking on Add Blob (ensure you can also save the training file) and selecting a Color Profile of 85. Since, in our case, the tablets are somewhat blue we can just use color to validate that the tablets are present. In other cases this may not be the case which is why the Blob_Inspection module has several attributes that it can check.
The Color Profile appears to work, we can now try on some other images
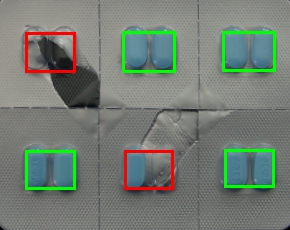
Note the Test3 result! It turns out an assumption that we made, i.e. the blister pack is symmetrical, is not true. Taking one of the images, rotating it 180 degrees and merging those two together we notice that one half of the pack is not the same height as the other.
The solution is to know which way the pack is oriented. As we don't know if there will be any pills in the blister pack or how many we cannot use the pills to decide which orientation we are in. Instead, we look to the perforation to tell us which way around the image is. The first step is to detect these perforations using the Sobel Edge module.
Then we use the Collapse module to add up all the edges horizontally. We know that the blister pack is aligned correctly so we only need to detect the strongest horizontal line in order to determine where the horizontal perforation is.
It becomes quickly evident where the middle perforation is. In order to locate the left most point we can use the Point Location module to determine the Y coordinate of the horizontal perforation.
Using this Y coordinate we can know if we need to rotate the image prior to analysis since the correct orientation that we used to create the Blob_Inspection mask has a perforation above the center Y, whilst the wrong orientation is above. Adding this logic into the pipeline the Test3 becomes
For any solution it is very important to test enough images to validate correctness. Testing on only a couple images is not sufficient.
Download the following zip file
to see the steps
and more about the modules used. This zip file also includes original images used in this tutorial
and the Mask image used.
The End
That's all folks. We hope you've enjoyed this little adventure into an application of machine vision processing. If you have any questions or comments about this tutorial please feel free to contact us.
Have a nice day!
| New Post |
| Blister Inspection Related Forum Posts | Last post | Posts | Views |
| None |