
Color Balance
Processing images for color is one of the easiest ways to identify an object within an image. However, color is never constant and can change drastically based on the illumination (sunshine, incandescent bulb, etc.) and even on the type of camera used. In an effort to reduce these effects the Color Balance module was added to provide you both a manual and automatic way of adjusting the overall colors within an image. If you're trying to detect color be sure to try the automatic mode of the Color Balancer which may help your values to be more consistent from frame to frame.The Color Balance module has similar results to the Equalize module but can provide a softer alignment of colors that is more appealing than some of the results of the Equalize module.
Interface
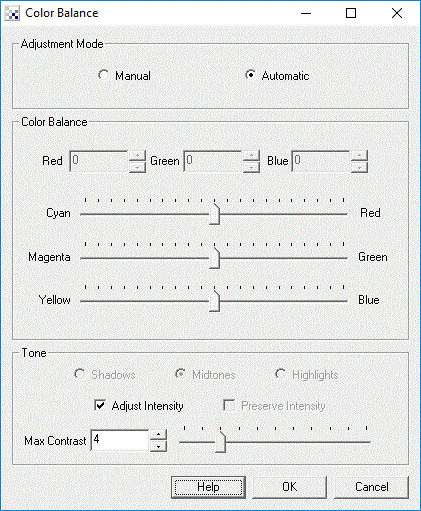
Instructions
1. Adjustment Mode - select if you want to manually adjust the color balance or let RoboRealm make a guess as to what a good color image should look like. If you select Automatic then all the manual controls will be disabled.
2. Color Balance - if manual mode is selected you can drag each of the horizontal scroll bars to change the values in each of the RGB channels. You can also use the spin up and down buttons to fine tune the channel value or simply type it into the editable text box. For each channel you can increase or decrease the value. Increasing the value will add more of that color into the image while decreasing it will remove that color and allow the other colors to dominate.
By adjusting the levels it is possible to remove dominant colors within the image to create a more heterogeneous color image.
3. Tone Balance - if you find that using the above adjustments do not sufficiently adjust the current image select a different intensity level to adjust instead. The three levels are Shadow, Midtone, or Highlight and focus the color changes in the lower, middle and upper intensity regions. Thus if you have a very bright image whose dominant color is red you would select the Highlight option and adjust the Red level negatively.
4. Preserve Intensity - as you adjust the color channels the image may change in overall intensity. Select the "Preserve Intensity" checkbox to ensure that the image keeps its overall intensity level when adjusting the colors.
5. Adjust Intensity - when in Automatic mode you can also select to adjust the image intensity in addition to the color. This will ensure very dark or very light images are adjusted to better reveal the overall image details.
6. Max Contrast - when in Automatic mode each color channel's contrast is altered in order to cover a wide range of intensities. Sometimes this change can cause undesired effects when very little of a channel is present. If you notice that dark areas are appearing blue reduce the Max Contrast value in order to reduce the contrast expansion that each color channel goes through. This should cause the image to still be enhanced but not to large extremes.
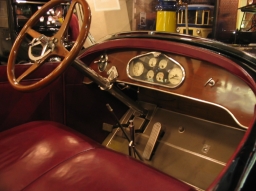
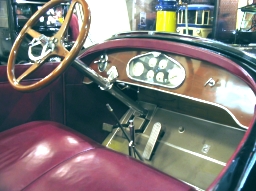
Example
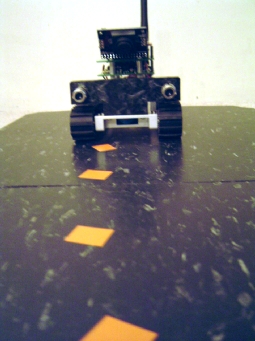
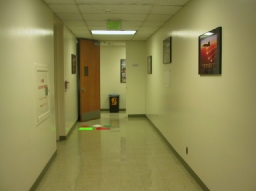
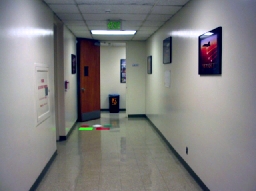
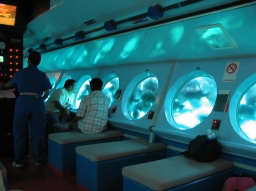
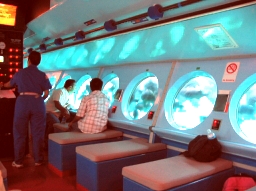
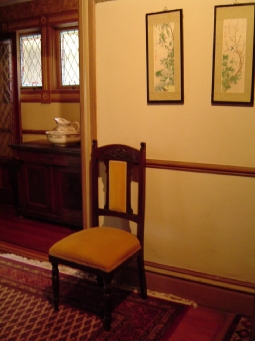
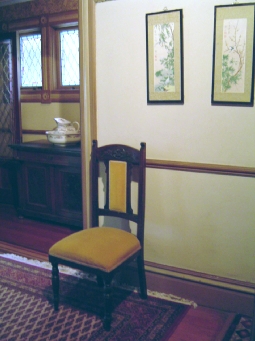
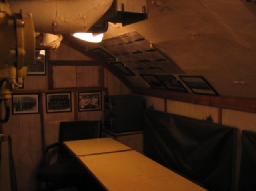
| Source | Color Balanced (automatic) |
 |  |
 |  |
 |  |
 |  |
 |  |
 |  |
See Also
Align Histogram
Equalize
Normalize
| New Post |
| Color_Balance Related Forum Posts | Last post | Posts | Views |
|
Is there a module that will allow us to add a red tinge to an image. I would like to simulate as close as possible a ... |
11 year | 2 | 3315 |
|
Define Area of Measurement
Hy, i´m using roborealm for about 2 years. We are testing some led´s with webcams and it realy work... |
14 year | 2 | 3700 |
 Calibrate camera color
I want to calibrate the camera colors against a reference board. Basically what I have is s photogr... |
16 year | 2 | 4029 |