|
rotate and mosaic
Dgephri from United States [23 posts] |
18 year
|
Abandoning my idea for Stereo 3D Orbits (they are too imprecise to keep aligned for S3D) I think I am going to switch to a pair of Quickcam 9000s in a fixed position.
But I plan to locate them one Clockwise 90, and the other CounterClockWise 90.
From what I can see, the rotate module only allows the composite to be rotated, not each individual camera.
Looking at the Camera Properties I don't see a Rotate there even though I can use that panel to match up lighting, contrast, and color balance.
Can we get a Rotate function for each camera in the near future, or is that too low on the list?
This would allow greater flexibility in multiple camera systems.
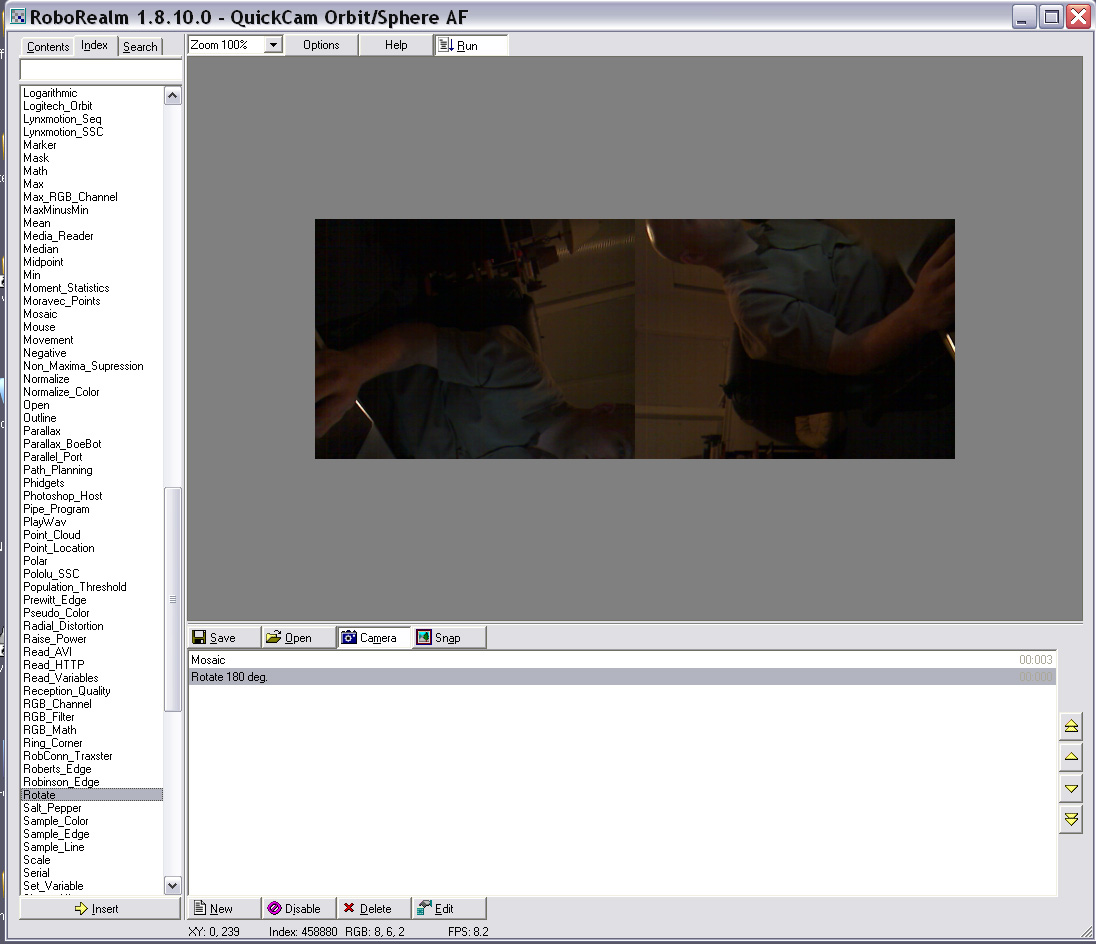
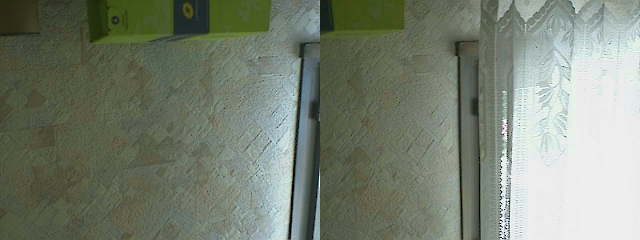
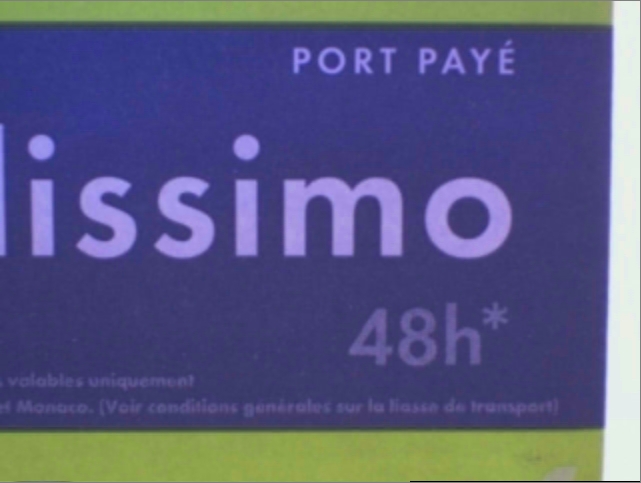
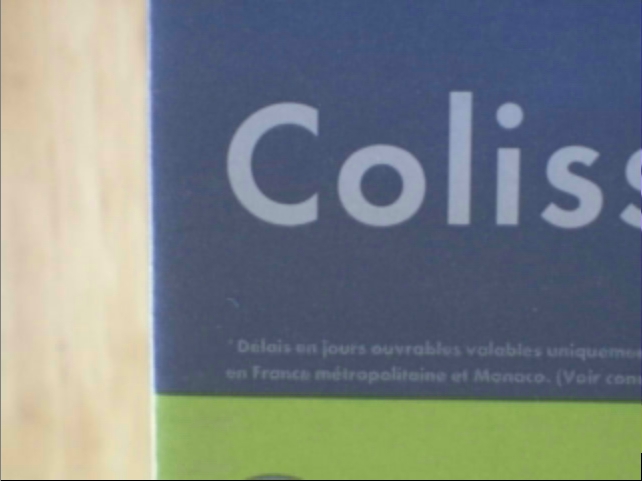
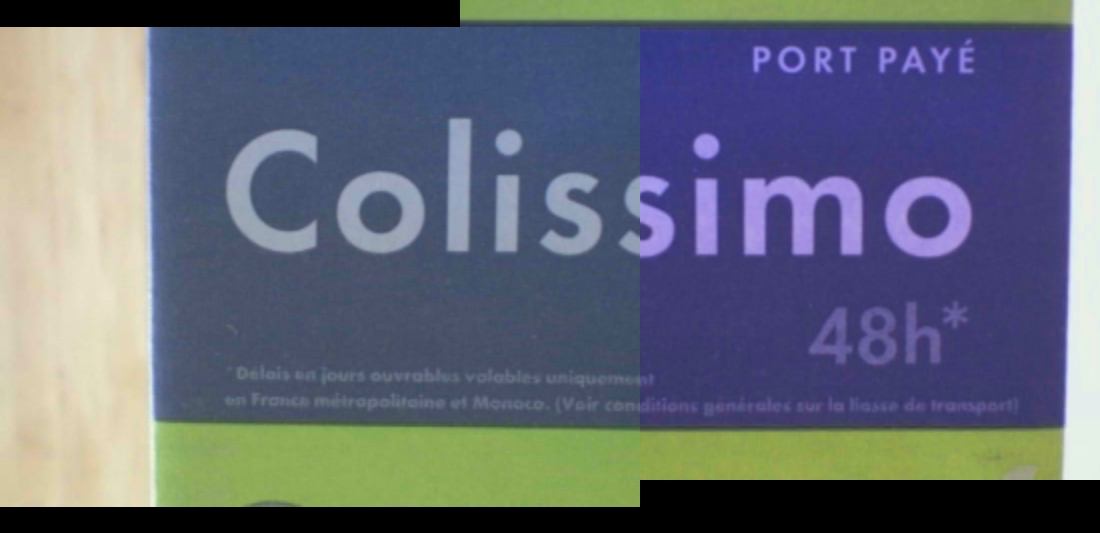
The first attached jpeg is the normal mosaic image, side by side, no rotation.
The second is if the cameras are 90CW and 90CCW (opposite for wiring and installation purposes). If I can rotate them individually, instead of as a pair...that solves my problem.


|
|
 |
hibou from France [30 posts] |
18 year
|
Dgephri wrote: Can we get a Rotate function for each camera in the near future, or is that too low on the list?
This is related to my request for a translation of individual cameras, with an average mosaic displayed for overlapping regions. Your first picture (normal mosaic image) shows a panorama with a small overlap. I am not clear why you want to rotate the cameras, but I would like to be able to manually translate the two images and stitch them together to display a smooth panorama.
Oh, and I would like this for the full 720x576 resolution for up to 2x2 cameras :-)
|
|
|
|
Dgephri from United States [23 posts] |
18 year
|
this is a fast and free stitching software, that is often used in preference to other more corporate programs:
http://www.cs.ubc.ca/~mbrown/autostitch/autostitch.html
Maybe, if RR sees enough need, he could be contacted about his programming and a module could be integrated with his cooperation.
I have used it to make several 360views and stitched together a 9X30" pic of HalfDome @ full resolution from my 7.2MP cam.
|
|
|
|
hibou from France [30 posts] |
18 year
|
Thanks, that looks like an interesting program, and stitching automatically is a big advance on other stitching programs I've tried.
But it is not quite what I had in mind :-) My idea was to simultaneously collect images from up to 4 cameras and stitch them together to improve efficiency/field-of-view. That way you could use a number of simple cameras instead of a much more expensive camera with a bigger lens, a bigger chip and image intensification.
Roborealm can collect simultaneous images from multiple cameras (and the idea of STeven to label them by their USB port is a good one) but as you point out, these images cannot be manipulated or even saved independently, and their size is limited well below the 720x576 pixels that can be obtained even with cheap PAL cameras.
I would not want anything so fancy as automatic stitching, but simply the possibility of manually offsetting the images by fixed amounts (or angles in your case), and averaging overlapping regions.
|
|
|
|
Anonymous |
18 year
|
Hibou,
Actually you can rotate and save each image independently ... that's partly what all the other modules in the application are meant to be used for. The issue is that you will not see a single GUI that enables this. Instead think of it in this way:
1. Start with one of the four images as the default camera by selecting in via Options->Video Tab->Camera dropdown list.
2. Add the Rotate module http://www.roborealm.com/help/Rotate.php and/or the Translate module http://www.roborealm.com/help/Translate.php into the pipeline and configure as needed (this will change the current image).
3. Then add the Marker module http://www.roborealm.com/help/Marker.php and call the image something like Image1.
4. While setting the marker be sure to select the next image (second webcam in the second dropdown as apposed to the default current). This will make the next camera image the active one and save the original one in memory attached to the given name.
5. Repeat the above process for as many cameras as you have, and then add in the Mosaic module.
6. In the mosaic module you will now notice Image1,Image2,etc inside the dropdown as part of the Camera list ... simply select all the correct images and Viola ... you have your single combined, rotated, translated, etc. image.
Note that any other module can also be added before the marker to change the image in some way rather than just translation or rotation.
If you need to do this for static images, just use the Load_Image module four times at the right spots and you'll achieve the same results.
Hope this helps ...
STeven.
|
|
|
|
Dgephri from United States [23 posts] |
18 year
|
setup is exactly as he described it, but I still messed it up 3X :)
here is a demo picture, trying to hold my two Orbits aligned, looking at a printer with a junker PSU on top of it.
white/color/contrast/brightness matching is a bit dicy, see attached jpg
Thanks again Steve, your proficiency is astounding.

|
|
|
|
hibou from France [30 posts] |
18 year
|
This does look promising. I see that the mosaic images are no longer limited to 230x240 in the latest RoboRealm 1.8.10.3; this is important and essential for my application. However I have limited them to that for simplicity in the following tests with two Philips SPC-900NC cameras (which are also simpler than the cameras I eventually want to use).
I think I understand the idea of the Marker, but I get weird results. Here is the sequence I used, though the first Marker(Camera1) is not really necessary, and included so that I could go the very start. When I click through this sequence, everything appears as expected until the final Mosaic of Camera2 and Camera3. Note that I have used "(" instead of "[" to list the markers, since [ is reserved for image tags.
Marker(Camera1)
Translate -300,0 
marker(Camera2)
Translate 50,0 
Marker(Camera3)
Mosaic(Camera2,Camera3) 
"Camera2" is shown correctly though small and displaced vertically as well as horizontally, while "Camera3" is sheared ?? I could remove the shear by changing the Mosaic Image Size ?? But whatever I did I could not get anything like the desired result with the two cameras superimposed.
Finally I include a simple Mosaic of the 2 cameras to show that they are both working correctly at any size 
I should add that RR crashed quite often while I was setting this up, but when I finally got it working it seemed stable and I could click between the stages at will. I could also close and re-open RR and I could not reproduce the instability. Still, maybe these effects are due to some kind of memory allocation problem - just a wild guess.
As I said, it looks as if everything is in place to do what I want, and I am excited about it. But I just can't get it to work all the way through. Maybe I am making some silly mistake, but I have tried lots of things and am stuck.
|
|
|
|
hibou from France [30 posts] |
18 year
|
I meant "...are no longer limited to 320x240..."
|
|
|
|
hibou from France [30 posts] |
18 year
|
Ok, to avoid the shear I must simply choose the Mosaic Image Size sufficiently large... my mistake.
But can I really super-impose two images? Suppose both 640x480 pixel cameras are looking at identical scenes. A simple Mosaic will show two side-by-side images separated by 640 pixels. So if translate the first by +320 and the second by -320 pixels (using markers), do I see the two images in the mosaic one on top of the other (which is what I would want in this case)? I don't think so :-( But I would love to be proved wrong :-)
|
|
|
|
Dgephri from United States [23 posts] |
18 year
|
I got that shearing when the individual camera's dimensions were different from the others.
Say one is set to 640X480, and the other is set to 320X240, then Mosaic would shear the 320X image IIRC. Setting them all to the same starting image size in Camera Properties solved the problem, but you can be limited in that behavior as well.
|
|
|
|
Anonymous |
18 year
|
Hibou,
I'd stop using the Mosaic module as it is not designed what you're looking to do. Instead use the translate and display image modules. For example the attached robofile will take the current image and offset it into a larger image by a non-zero overlap. You will have to switch it to the appropriate marker than you are using to get the two images to overlap correctly. Have a look and let us know any questions you have.
Note that the display image does not have an alpha or blend mode. Let us know if this is something you'd need.
STeven.
 program.robo program.robo
|
|
|
|
hibou from France [30 posts] |
18 year
|
Thanks STeven. Yes, if I can translate and paste several individual images into a larger image area that allows overlap, that should do what I want. What is nice about RR is that once I have a series of operations, that series is automatically applied to new images. Since my multi-camera geometry would be fixed, I don't mind carefully adjusting the individual translations to obtain alignment for that specific geometry.
But it does sound as if I will need a blend mode if that means averaging regions that overlap. I'll try your robofile with multiple cameras, and let you know how I go.
Thanks again, Alan.
|
|
|
|
hibou from France [30 posts] |
18 year
|
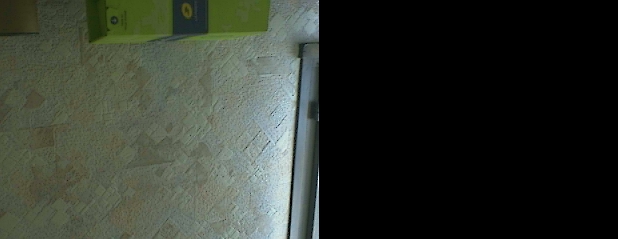
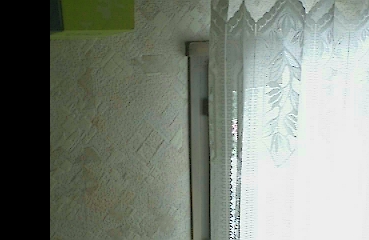
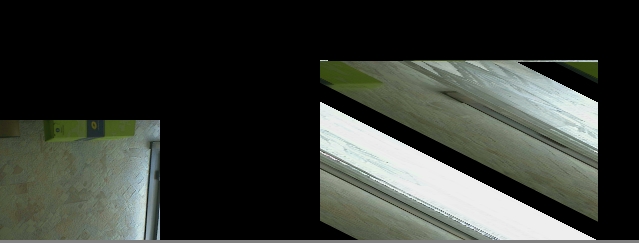
That works!!!! It is a bit of a fiddle, but it does tile the second camera on a translated image of the first. I had to use a Marker for the 1st camera, then a Translate 460,53 and a Display_Image of the 2nd camera on top. Details in the Tiling2Cameras.robo file attached. Here's the proof:
 Camera#1 Camera#1
 Camera#2 Camera#2
 Tiled cameras Tiled cameras
The registration would be better if I had accurate alignment of the cameras, and yes it would be nice to blend (average) overlapping regions, but it is already useful allowing large panoramas with multiple cameras.
Thanks STeven. I hadn't thought of using the "PIP" idea to tile images, but was stuck on trying to get "Mosaic" to work.
program.robo
|
|