
Variable Control
While the GUI interfaces to hardware (such as the Lego NXT) provide user controls to control various aspects of a robot it is sometimes not clear how one can then automatically control the robot without needing to manually move the specific controls.
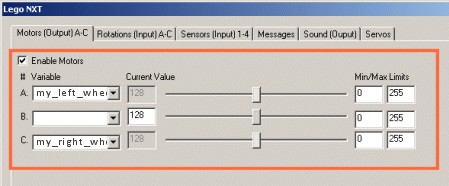
The GUI controls provide both manual and automatic control and are completely programmable but not in the way that you are probably used to. You will have seen the GUI elements to specify variables throughout the interface. These are typically in dropdown boxes where you can see existing variables or where you can type in your own variable that has yet to be created. These variables are then used to get or set information as you see it in the interface. For example, you can just type in my_left_wheel and my_right_wheel in the first dropdown of the Motors/Servo interface (or perhaps select an existing variable that you already created). Once this is done you will notice the rest of the manual interface gets disabled which means that this control is now under program variable control. (i.e. the slider and current value interface elements become gray)
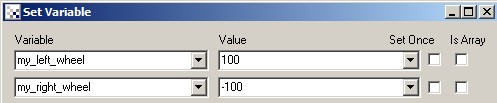
From there, you can use any other module like the Set_Variable module as a quick example to set the my_left_wheel and my_right_wheel variables to some value. When you change the variable's value you will change the value sent to the hardware device which than changes its wheel speeds (in this example).
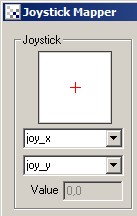
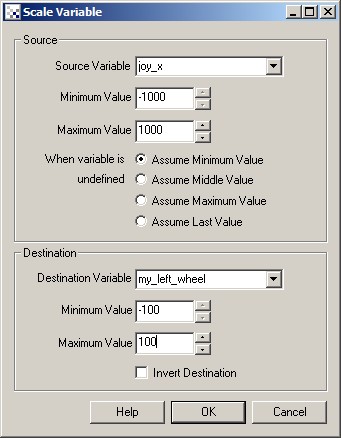
Using this technique you can make it react to visual objects or via other input devices. For example, if you add the Joystick module into the pipeline, and type in variables (say joy_x and joy_y) that module will populate those variables with the current value of the joystick. If your robot happens to understand wheel speeds from -1000 to 1000 then you could literally type in joy_x and joy_y as the wheel control variables and that would move the robot according to the joystick. Since most robots will use different values you may need to use the Scale_Variable or the Differential_Drive modules to convert the joystick numbers into a range that the robot will understand.
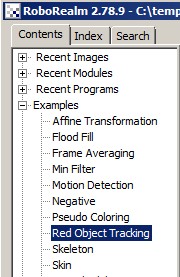
Because the GUI interface is always the same, it is possible to redo what modules set the motor values without having to change the hardware module. For example, you can remove the Set_Variable module mentioned above and instead add a RGB Filter module followed by a COG module and then scale the COG_X variable that it produces as one of the wheel values. You can see this done in the examples->Red Object Tracking from the main RR interface.
Now its just a matter of setting the variable to the right value to be sent to the robot automatically. You can still view the GUI dialog and set other items manually or turn off automatic control by deleting the variable. The module allows you to mix and match automatic and manual control.
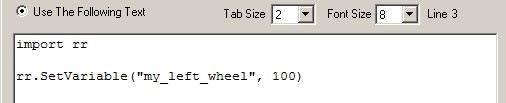
As the variable used to specify wheel speeds is just a regular variable, this can also be set via the API or any of the programming modules like the Python Program.
For those items in the GUI interface that do NOT specify a variable dropdown, one can often type in [my_left_wheel] i.e. a variable name surrounded by [] which indicates an Expression. This allows you to automate control over those items that may not have an associated variable dropdown. See Expressions for more information on how those work.
| New Post |
| Variable_Control Related Forum Posts | Last post | Posts | Views |
| None |